Introduction
This article explains how to migrate the AWS Email Notification System, which is currently functioning in HPC account, to other account.
For the architecture of the notification system, please refer to this post
Step 1, Set Up Simple Notification Service (SNS)
During this step, we will create an SNS. The SNS will be able to send emails to subscribers. We will get a Topic ARN, which can be considered as an ID referring to the SNS. The Lambda service, which we will build up in the following steps, will use the Topic ARN to trigger the SNS.
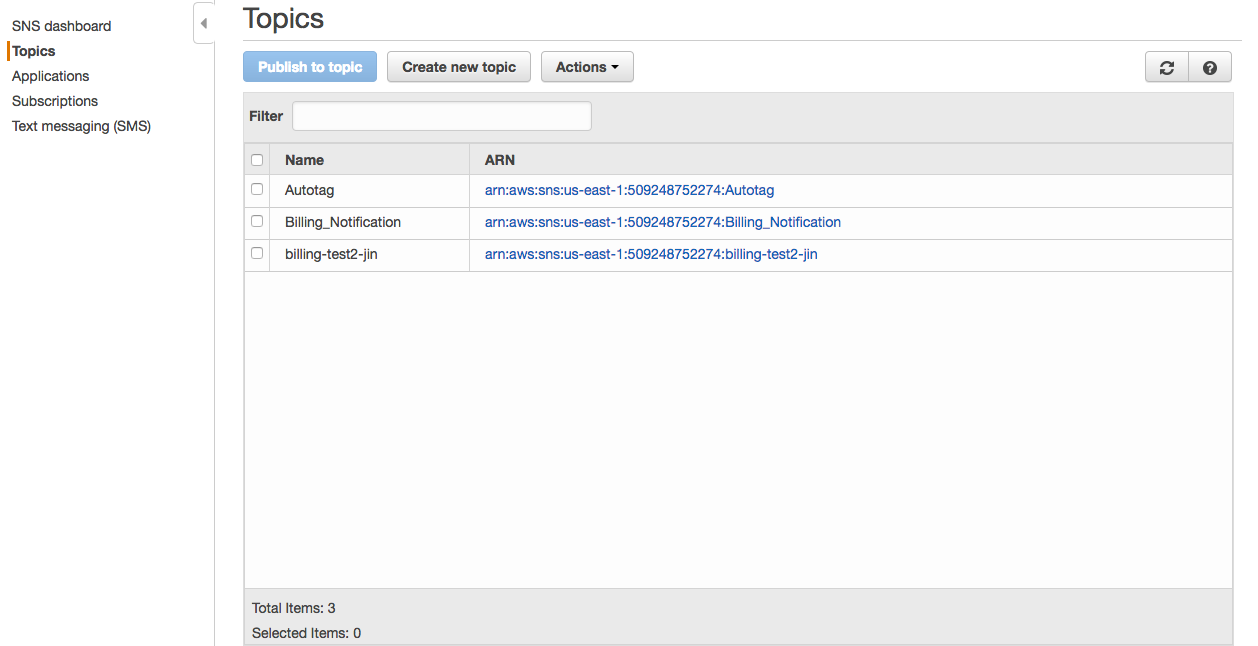
- Log in AWS console, go to the SNS dashboard and then go further to the Topics section: It doesn’t matter which region you create your SNS, but it’s a good idea to create you SNS and Lambda in the same region with the S3 bucket that syncs billing information. If SNS, Lambda and S3 are in different regions, there might be higher latency and addional cost because of longer distance communication across regions. It also makes your job harder because you have to manage different services in the difference regions.
Step 2, Create Lambda Service
The Lambda is the main component of the notification system. It listens to the S3 billing bucket update, parses cost information and triggers SNS to send email notifications.
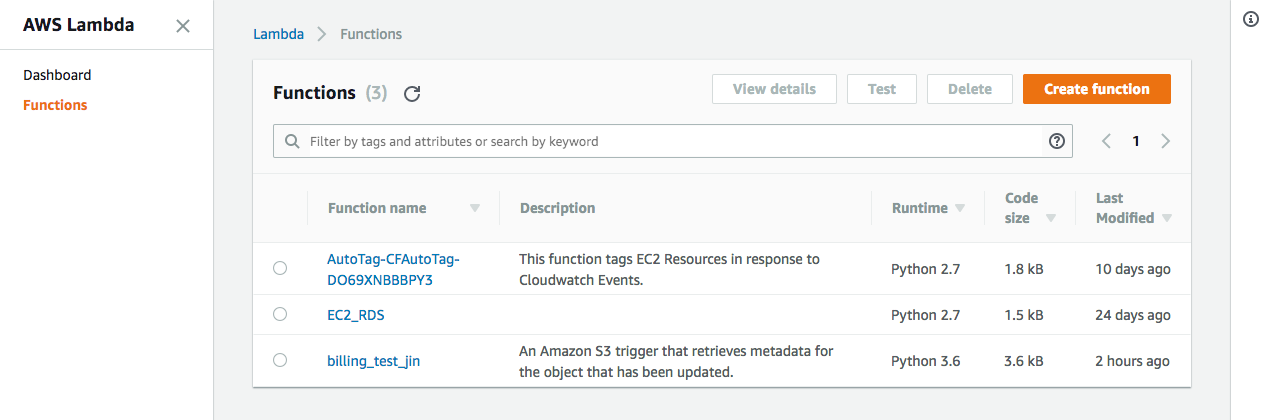
- Go to the AWS Lambda dashboard and then move to the ‘Functions’ section:
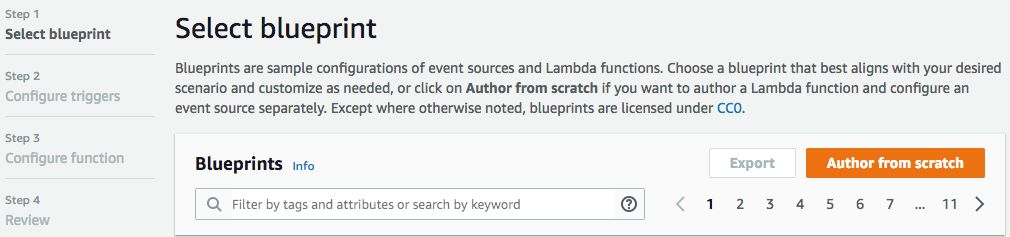
- Click the ‘Create function’ button and then click the ‘Author from scratch’ button:
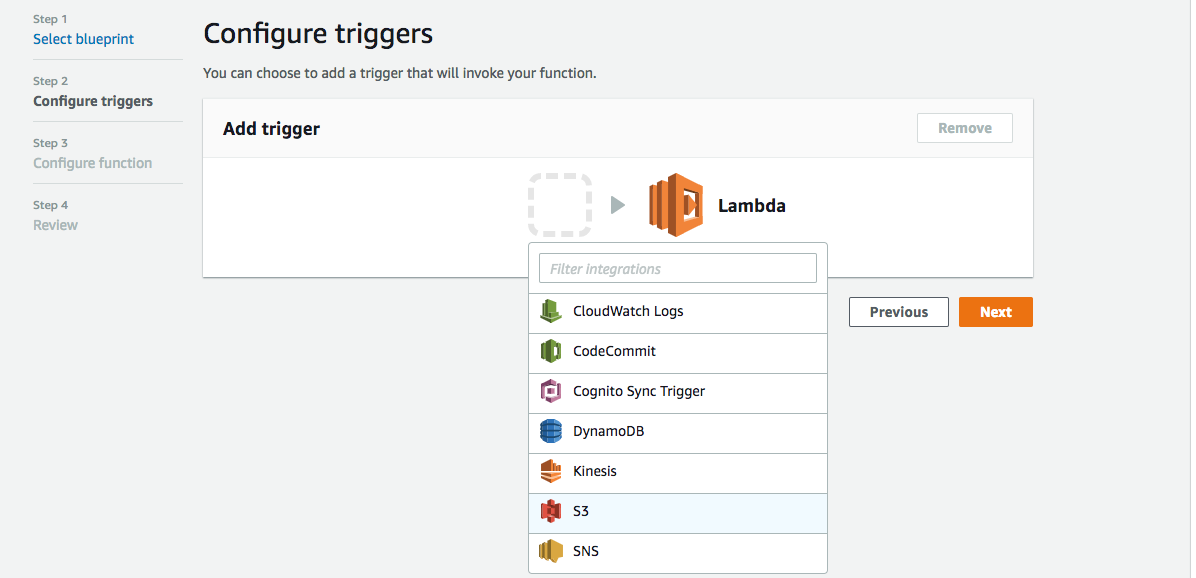
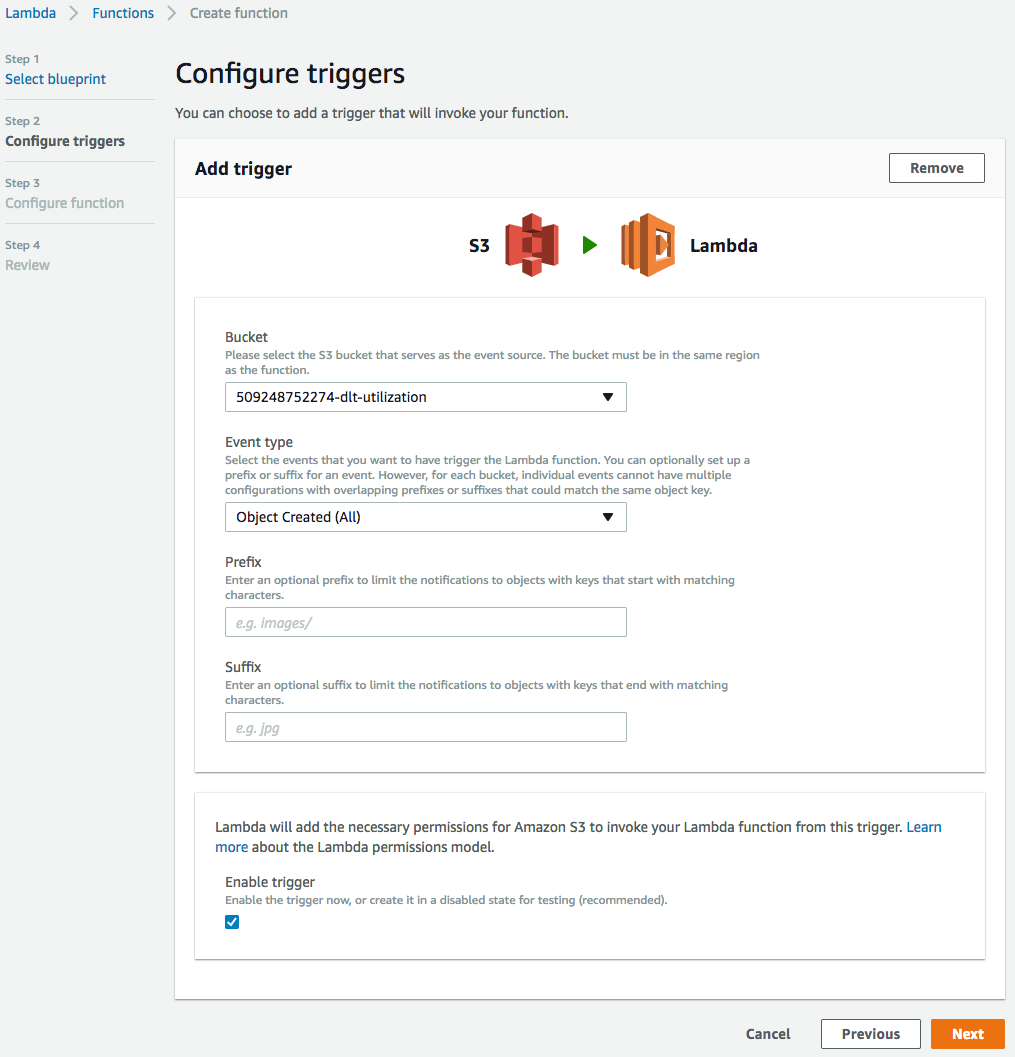
- Add trigger:
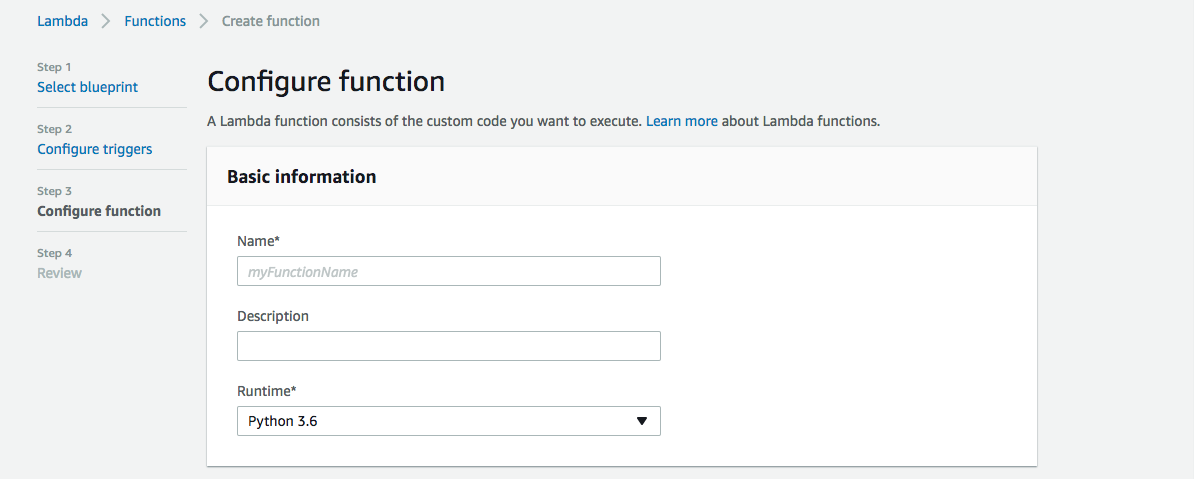
- Configure function:
- type in a name for the Lambda and choose the Runtime: Python 3.6
- Lambda function code:
the Lambda function code can be found here
Copy the Python code and paste it into the code section of Lambda page. Find the ‘aws_access_key_id’ and ‘aws_secret_access_key’ from the code. Replace their values with your keys. ATTENTION: NEVER PUT YOUR KEYS ON GITHUB OR ANY PUCLIC PLATFORM!!! Then find ‘TopicArn’ and replace its value with the TopicArn you just created in the SNS section.
This code also contains instructions of how to mute daily cost summary and send weekly cost summary only. Search ‘if you do not wish to receive daily summary …’ from the code and you will find the instructions as part of the annotation.
After modifying Python code, go to the Configuration section.
In the ‘Advanced settings’ part, you can change Memory size and Timeout. The memory size is the memory allocated for running the Lambda function while the Timeout specifies the maximum time that the Lambda function lasts. The default memory size is 128 MB, which should be enough for processing billing data. However, the default timeout setting is 10 seconds, which is insuffient for the current job. Increase it to 1 minute should be okay. If you need your Lambda to do a heavier job, make sure to further increase the memory size and timeout. But, Lambda is not designed for computationally expensive job, so keep in mind that one of the reasons you go for Lambda is your computational task is lightweight.
Next, go to the ‘Tags’ part and tag your Lambda function properly according to the HPC policy.
Last but not least, the ‘Monitoring’ section:
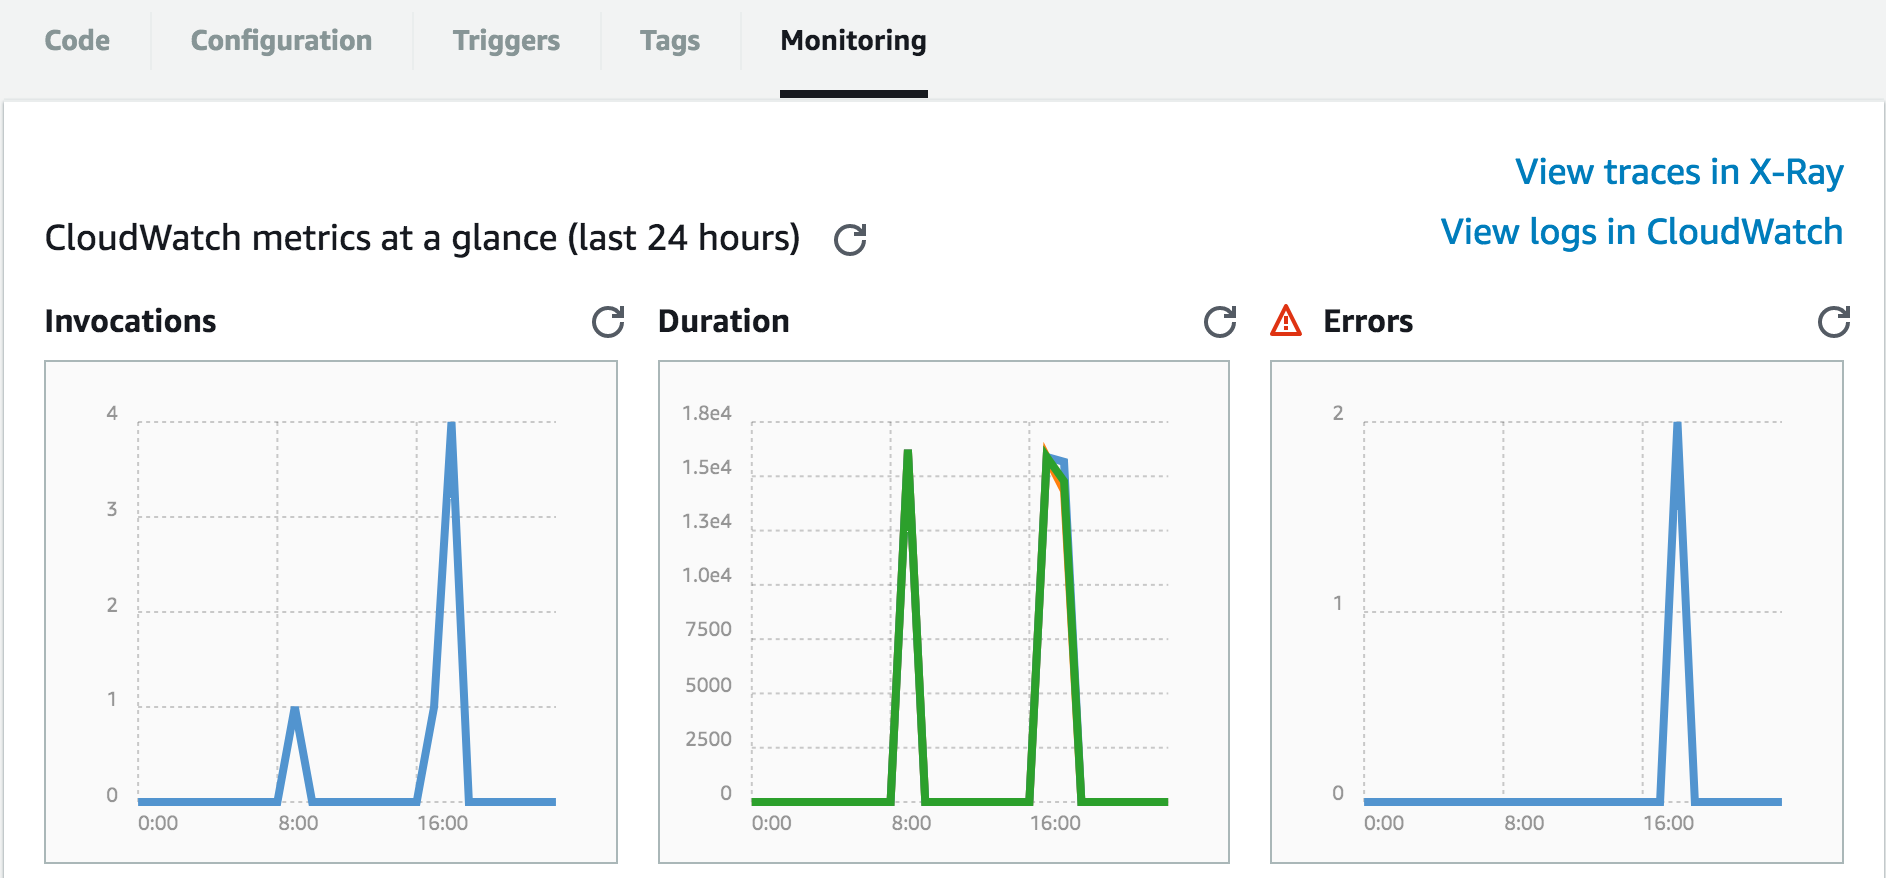
This section has a dashboard to keep track of your Lambda. To find logs of your Lambda, you can click the ‘View logs in CloudWatch’ on the top right corner. This will prompt you to the log files. You can see how your Lambda was executed in detail. It’s a handly tool for debugging your Lambda code.
Heads-up
Next steps
The current notification system will parse raw billing data and send email notifications. It does not have the functionality to store the parsed information for future reference. It might be useful to keep the parsed information in an S3 bucket.