Introduction
The purpose of this document – available at http://cloudmaven.org – is to narrate a common experience: “First time using the AWS cloud” by making you the observer of a research graduate student, Pearl by name, who goes through that process. Pearl’s situation is a fairly common pattern: She has a large amount of data processing in mind for her work and she has written some necessary software in Python. There is more on this below. The point is she wants to get onto the cloud and get back to running her code on the data as quickly as possible. She has taken on an additional task as well: Pearl will manage the cloud account for the entire research group so she will need some additional skills.
(Note this document is under construction, incomplete, missing bits flagged with ‘kilroy’)
Objectives
Day One (this document)
- Discover the AWS Console and decouple the account from a billing account
- Receive research credits for this account (and manage a ‘gap’ time interval)
- Look briefly at getting a machine
- Do some initial account administration tasks
Day Two and so on…
- Choose and spin up an EC2 instance (cloud computer); add some memory
- Connect to the EC2 instance with ssh and scp; shutdown the instance, start it again
- Add generic software and custom software and some data
- Do some simple tests and create both a snapshot and an AMI of the EC2 instance
- See if the code can do an intensive job… and diagnose any problems
- Get the code to run in parallel
- Spin up a cluster of machines, do a parallel run
- Figure out how much this should have cost and how much it did cost
- Calculate what a large processing run will cost
Discover the AWS Console and decouple the account from a billing account
The lead faculty member for this project is David; who some time ago received an AWS cloud account. This account was linked to another account that acted as a Master Account for purposes of creating a single point of billing. To receive his research credits David will have to decouple his account from that Master Account. We follow Pearl as she breaks this link.
Log in as David: Given his account name and his password. The URL is kilroy. Kilroy screencap.
Notice that Pearl is now looking at the main AWS console featuring 50+ icons, each with a short text description.
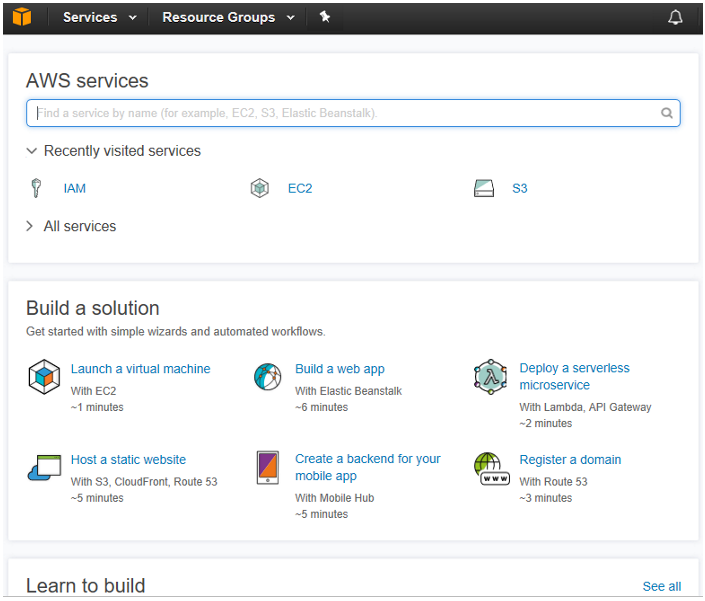
Only a few of these icons come into play here; the rest can be ignored or explored at a future date. This console is like the factory floor where one starts to build. Pearl takes a minute to look at some of the icons and some of the text.
However: To un-link this account she needs to leave the factory floor – the AWS Console – and go into the ‘office’ where the account is managed. That is, we want to go to the My Account page, typically from the identity dropdown at the upper right.
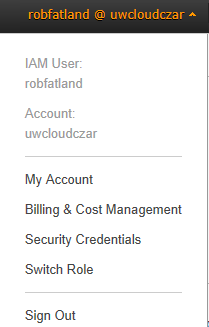
To see this left-side list of context pages:
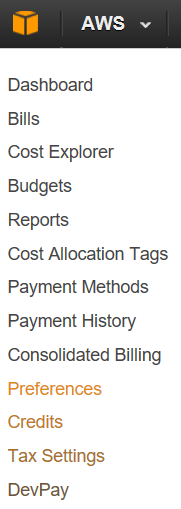
Now that Pearl is on this page she notices the above, a recurring feature of the AWS console: In a given context on the AWS console website there will be a useful menu on the left side. Here we want to select Consolidated Billing. If this account is linked to a ‘bigger’ account there is a button here to Remove account. This is what Pearl will do so that David’s account will be eligible to receive research credits.

Receive research credits for this account (and manage a ‘gap’ time interval)
Recall that Pearl is logged in as David, but more specifically she is logged in as the Account Manager, the person who has the top level of permissions for this account. David has been awarded $8k in research credits and those research credits are not real dollars; they can only be burned (used) from this AWS account. However those credits will not be awarded until the first day of the following month where today is the 12th of this month. So let’s see how Pearl is going to manage this.
Pearl goes to the Dashboard selection for My Account where she can see the account number. She sends an email to the AWS research credit manager telling her both the email address and the account number associated with this account. She receives a confirmation that the research credits will be available on the first of next month. Now Pearl can either wait 19 days or she can incur some charges while she learns how to use the AWS cloud. She chooses the latter since paying for 19 days of cloud use will ultimately be David’s problem. (And just to be sure she checks with David who says it is ok.)
Now Pearl opens up a notes file and starts taking notes on what she is doing. The notes file is kept in a secure location on her computer that is not part of any source code version control repository. This ensures that Pearl’s notes are not accidentally shared to the internet: They may contain exploitable information. Let’s refer to this as Pearl’s Secure Location. In addition to notes she can keep Credential files here. At least initially she will be acting as the Account Administrator for the entire research team. This role is not the same as Account Manager described above. The Account Manager might have financial matters to deal with at some point but is largely not involved in the operation of this AWS account. The Account Administrator will track spending and make sure that all of the other account Users are following good practices.
At this point the AWS Solution Architect – a person from Amazon who knows how everything works – is asking Pearl to follow protocol regarding this account: He wants her to create a new User and log out and log back in as that User. However she is going to ignore him for the moment and go look at machine instances (computers she can use).
Look briefly at getting a machine
Pearl returns to the AWS Console by clicking on the cube icon at the upper left. She notices the item called EC2; so she clicks on that.
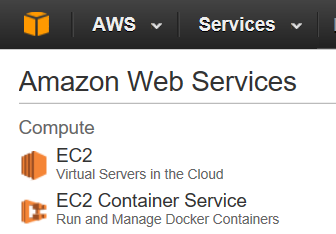
An EC2 instance is the AWS term for a computer. AWS has a large number of these available; they comprise the compute power of the Amazon cloud. Each EC2 instance will have associated memory (RAM) just like any other computer. EC2 instances also have some amount of disk space associated, large enough to host the machine’s operating system. To attach additional disk space – known as Elastic Block Storage (EBS) – is a common task; but there is a fee that is proportional to the amount of disk space that you attach; so it is typical to get what you need and not more. See http://www.rightscale.com/blog/cloud-industry-insights/amazons-elastic-block-store-explained.
Pearl notices that she has no instances currently in operation; and that there is a button called

She clicks on this and finds that the first choice in getting a machine is to choose the operating system. She chooses AWS Linux.

This is a version of Linux that is aligned with other AWS technologies. The login username for this OS is ec2-user; and Pearl will use this account name but without a password. Rather she will be using an authentication certificate.
Pearl finds that the second choice she has is machine type.
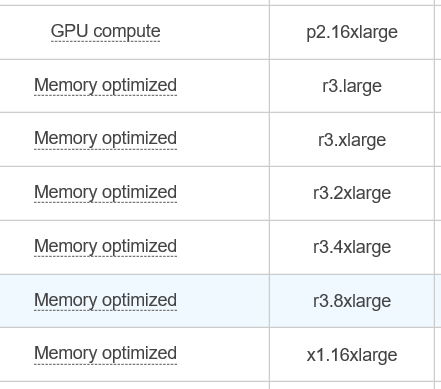
There is a list provided of about 45 choices, from small ‘t-class’ machines to large ‘x-class’ machines. Rather than go further with starting up a machine Pearl cancels out of this and returns to the AWS Console. It’s time to follow protocol.
Do some initial account administration tasks
In order to avoid logging in as Account Administrator (which has the highest level of control over the account) Pearl is now going to use the Identity and Access Management (IAM) page to create two new identities or IAM Users. The icon for IAM Management looks like a key.
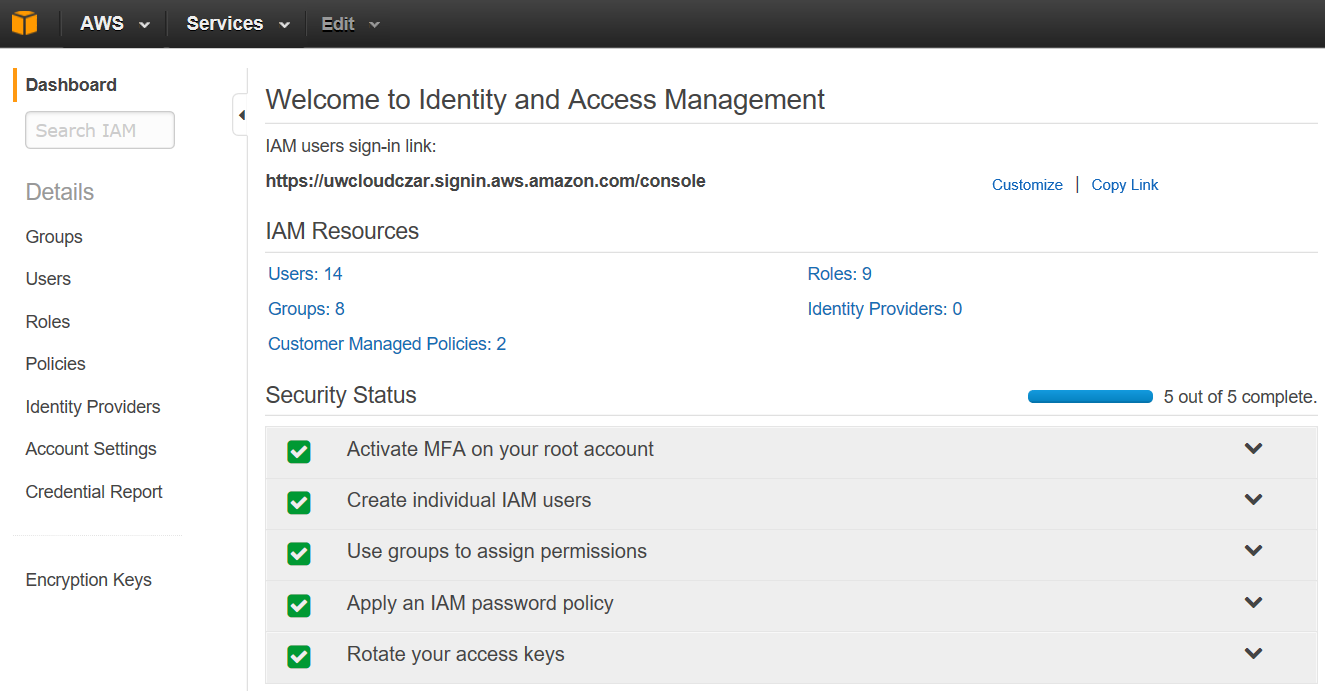
(this example is from the ‘uwcloudczar’ account, not Pearl/David’s account.)
Now that she is in the IAM page Pearl notices again the left sidebar context menu. Pearl is now going to create an IAM User identity for herself and for David. She clicks on Users and selects

She adds account names ‘pearl’ and ‘david’.
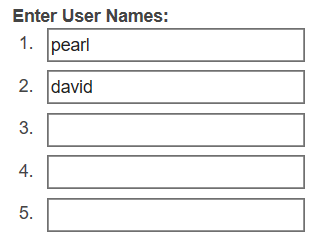
These will be two new IAM Users under this account. Each User receives four additional points of attention to complete this task.
- Assign each User an Administrator Policy
- Assign each User a Password Login
- Require each User to activate Multi Factor Authentication (MFA)
- Train each User on using this account.
Including Multi-Factor Authentication (MFA) in an IAM User Account
Pearl asks David to install an MFA application on his smart phone. This app is provided by AWS at not cost:
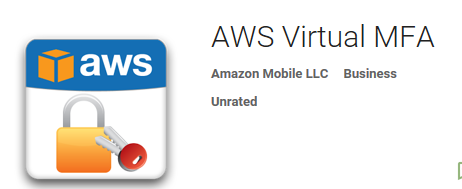
Pearl then selects David’s IAM User account and selects the Action ‘Manage MFA device’ which goes here:
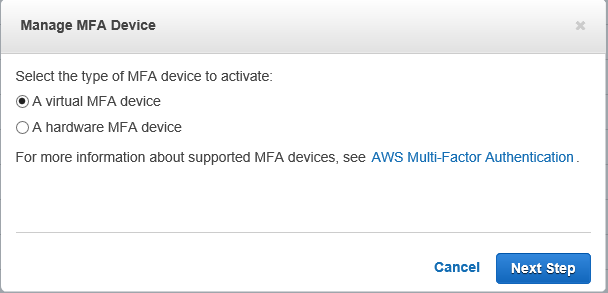
The smartphone app is a Virtual MFA device. You can also purchase dedicated small devices for this purpose but we tend to avoid them as they are “one more thing to keep track of”. The Next Step button leads to
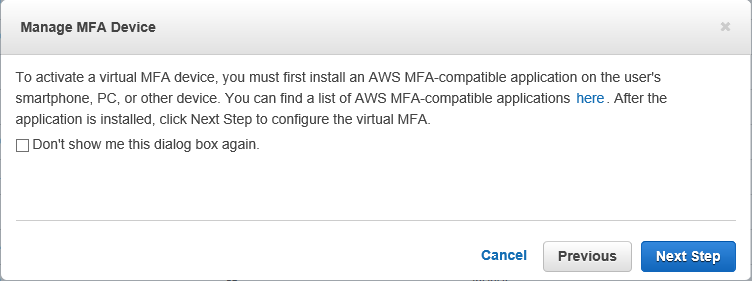
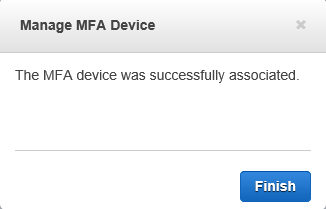
From here there is a step that we do not screen-cap. It is a window with a QR code that you photograph with the phone and two code entry fields. You put two consecutive 6-digit codes into those fields to continue. This should be sufficient to activate MFA access for this IAM User.
Other items from above
Kilroy please attend to other bullets in the above list
Last steps for Day One
Pearl now logs out of the AWS Console: She is no longer the Account Manager. She has received a login URL as part of her login credentials; so she types this URL into her browser and at the prompts enters her IAM User name ‘pearl’ and her password. This takes her to an MFA page where she enters a six digit code. From here she finds herself back at the AWS Console page with Administrator privileges. That is: She is now logged in as her IAM User self, an Administrator; not as the Account Manager.
David would do likewise to do work under this account; as would everyone else on the research team. This work is not done when logged in as the Account Manager; only when logged in as IAM Users. Each IAM User has their own username, password and MFA activated. This information should be kept secure to prevent giving non-team-members access to the account. Again: This includes keeping this information away from code management repositories such as GitHub.
Choose and spin up an EC2 instance (cloud computer); add some memory
Pearl now decides to go back to EC2 and actually start up an EC2 instance. She returns to the EC2 page. At the top are listed a set of EC2 Resources, for example:

We describe EC2 Resources in more detail under that subject heading. One of the most useful EC2 resources to be aware of is the Elastic IP. This is a persistent ip address that you can associate with an EC2 instance even if you shut it down and start it up again. Without this feature an EC2 that you stop and re-start will be assigned a new IP address each time, making it a bit of a moving target if you need to ssh to that instance.
Pearl again clicks on the Start EC2 Instance button, selects AWS Linux as the operating system, and looks through the resulting set of instance options. These have corresponding on-demand cost rates as described at this link:
http://aws.amazon.com/ec2/pricing/on-demand
There are ways of cutting cost that are not described here. That is: You can realize considerable savings at AWS paying as low as only 10% of on-demand rates; for example see the documentation concerning the AWS Spot Market. For now Pearl will pay the on-demand rate. She chooses an r3.2xlarge instance which will cost $0.67 per hour. This is a powerful machine with 8 virtual CPUs. (kilroy put cost analysis here? If so include spot)
Connect to the EC2 instance with ssh and scp; shutdown the instance, start it again
Day Two and beyond
- Add generic software and custom software and some data
- Do some simple tests and create both a snapshot and an AMI of the EC2 instance
- See if the code can do an intensive job… and diagnose any problems
- Get the code to run in parallel
- Spin up a cluster of machines, do a parallel run
- Figure out how much this should have cost and how much it did cost
- Calculate what a large processing run will cost